








In the early days, a family would gather around in their parlors and be entertained with a piano.
Then in the early 1900s a player piano and a Victrola would become the centerpiece followed by the radio.
All were designed to be beautiful for they would be located in the most important room in the house.
To fit in and show their importance they and came in many styles and were meant to be part of the furniture in the room with nice wood cabinets.
When the television set took over, they too came in beautiful wood cabinets to match the furniture in the room.
When these forms of entertainment were new, they were something a family would want to show off to their guests.
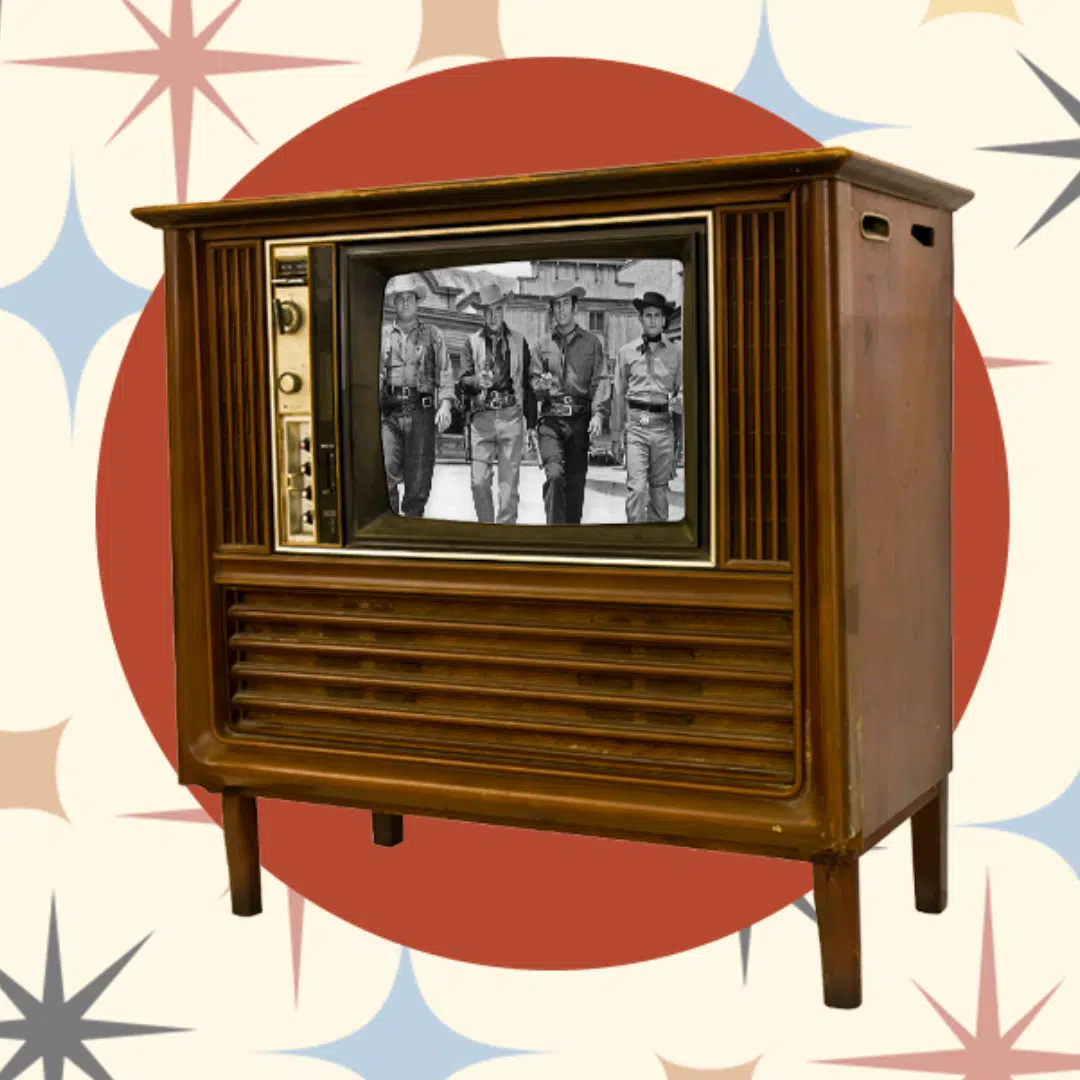
1960s television in walnut cabinet.
TV technology improved and now giant black TV screens dominate the room.
The living room may have nice wood furniture and decor but a giant screen jumps out at you with a visual impact as if a space-ship landed.
You can’t help but see it. This is the focal point. All other beauty becomes second place.
The house on the right has a TV screen above the fireplace. What an awful location. The location is so prominent it makes the homeowner seem like their life is centered around the bube-tube.
Some people like this or just do it probably because they really don’t know of a better option for a different location.
If you have a historic home a tv screen will ruin your restoration efforts.
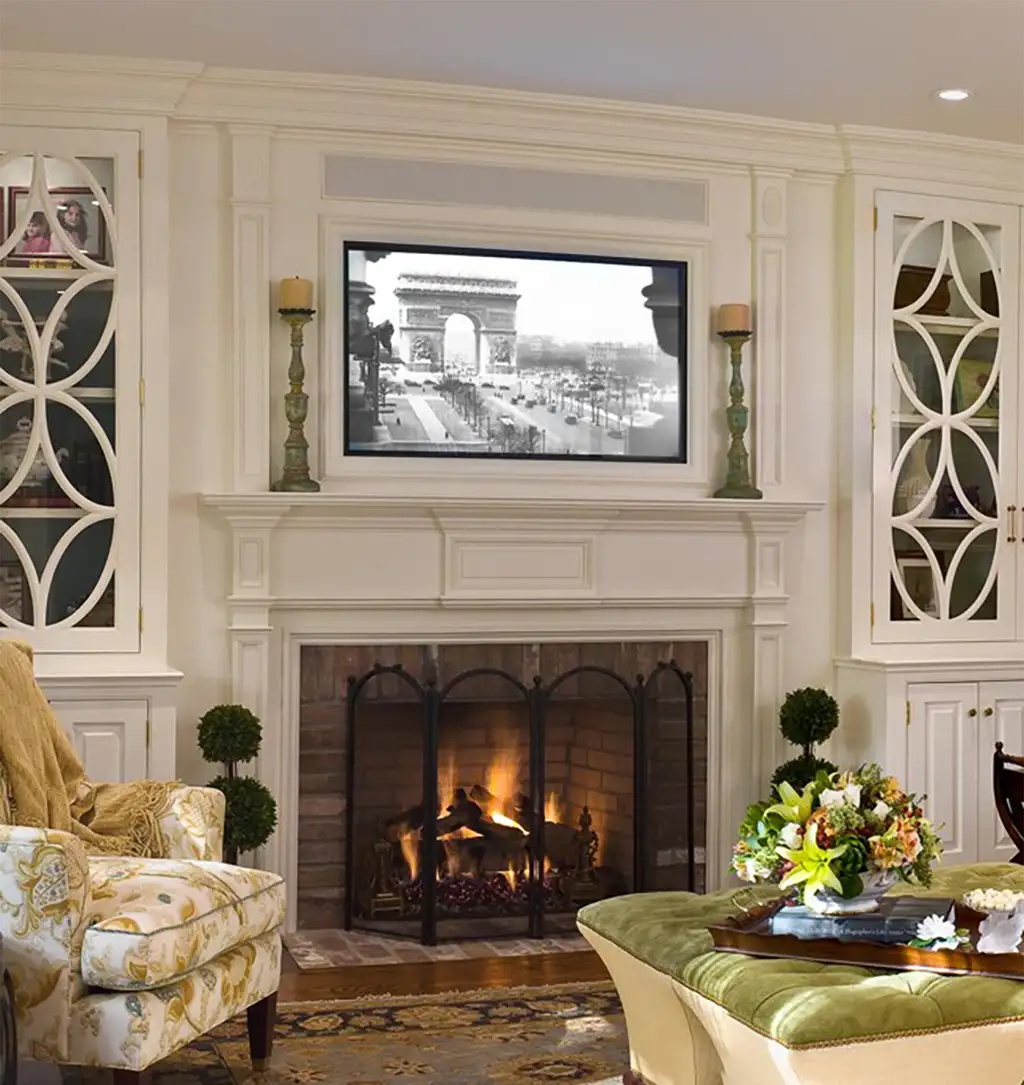
An ugly television screen should not be the focal point of a room.
A modern flat-screen television will look out of place in a historic home. Why not disguise it as a beautiful framed painting? With a few simple materials and a decorative picture frame, your television can become part of the room’s decor rather than an eyesore.
A Hidden TV in a Picture Frame.
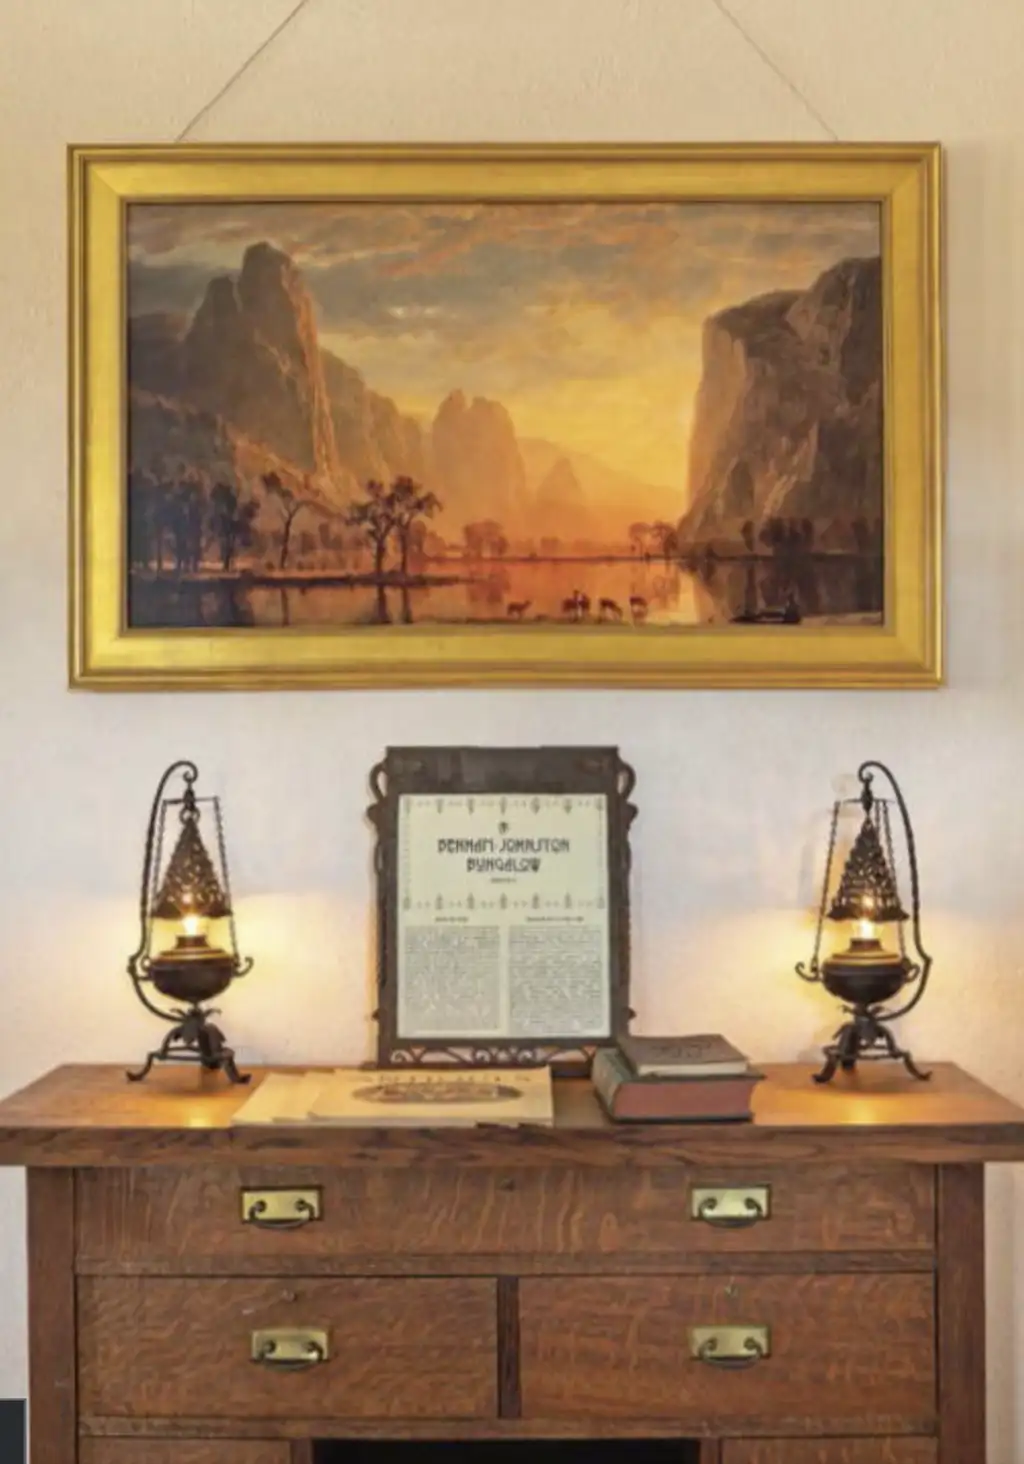
The television set is cleverly camouflaged with a pictorial screensaver and framed like a painting. It hangs above antique furniture. (image – Arts & Crafts Homes)
Step 1: Mount the TV Screen and Build a Wood Frame.
- Mount your flat-screen television securely on the wall, following the manufacturer’s instructions.
- Measure the television carefully and construct a rectangular frame using 1×2-inch lumber. The wood frame will provide a mounting surface for the decorative picture frame and the sides will box in the screen neatly so it looks nice from the sides.
- Make sure the wood does not cover the screen, ventilation openings, or remote-control sensors. The decorative frame should be supported independently and must not interfere with the television’s wall mount.
Step 2: Add the Decorative Picture Frame.
- Visit a picture-framing shop and select a frame that complements the architectural style and décor of your room.
- Have the frame custom-made to fit around the television screen.
Keep in mind the centering of the screen and the space around it in order to allow remote control sensors to work. Depending on your screen and the spacing, you may need a picture matting. This will allow the screen to fit tight yet allow the remote sensor to be visible by cutting into the matt. If this space is noticeable, the black plastic edge of the screen can be painted. - Attach the decorative frame to the wood frame using small corner brackets or other suitable removable fasteners.
- Paint or stain any exposed wood to match the decorative frame.
- Choose a landscape, portrait, or other artwork to display on the television when it is not being used. Follow the television manufacturer’s recommendations to prevent screen burn-in.
- For an authentic finishing touch, add a decorative braided picture cord and a wall medallion above the frame, just as you might find on a traditionally hung painting. If you do not have a picture rail then mount the medallion on a nail. The cord is decorative only and should not support the television.


Leave a Reply